Guides
Transform Your T-Shirt: 10 Techniques for Achieving a Vintage Look
Are you tired of your plain old t-shirts just sitting in your closet? It’s time to give them a new life and transform them into stylish, vintage masterpieces.
Vintage fashion has made a huge comeback, and it’s easier than ever to achieve that worn-in, effortlessly cool look right at home. From naturally-aged hues to soft, broken-in textures, there’s something magical about a shirt that has a story to tell.
In this article, we’ll explore ten creative techniques to help you achieve that perfect vintage aesthetic while keeping your wardrobe fresh and unique. Get ready to roll up your sleeves and discover how to turn your regular tees into standout pieces!
Understand Vintage Aesthetics: Key Characteristics
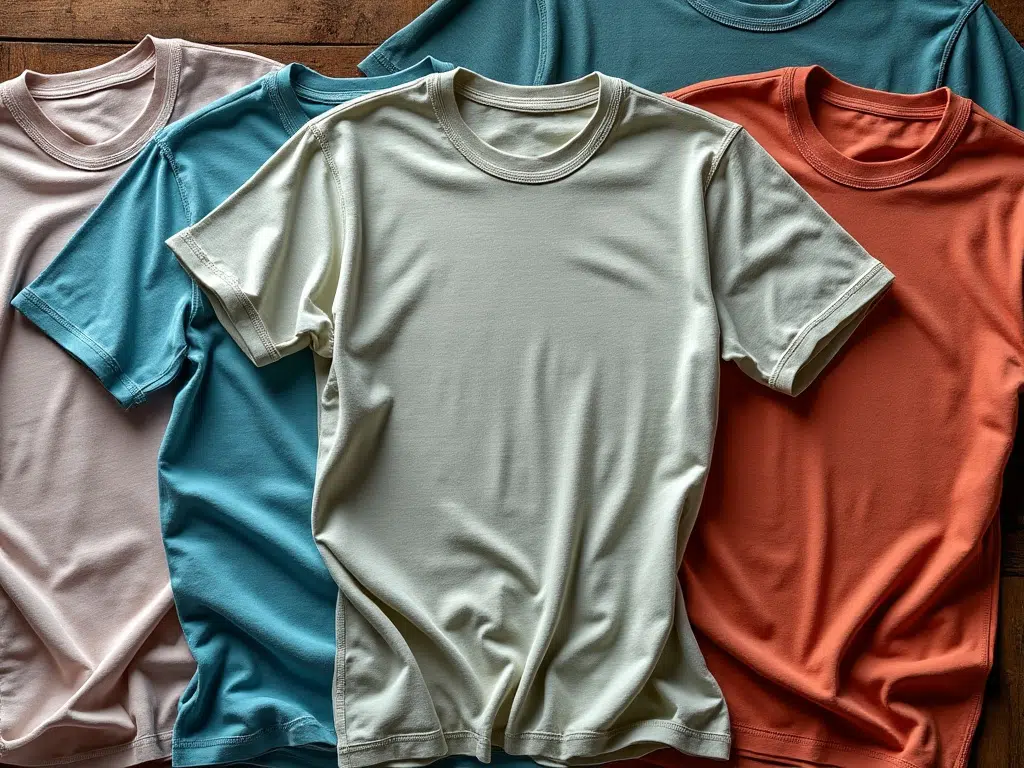
Craving that classic vintage tee vibe? Look no further! The charm of a vintage aesthetic is all about that perfectly worn-in feel, achieved through the love and wear of time. Short on decades? No sweat – you can still get the look.
Vintage t-shirts are a nod to yesteryear’s fashion, sporting a comfier, relaxed fit and a design that’s straight-up simpler. Think less is more. It’s not just about appearance though; the texture is key. Vintage shirts come with a little something extra – a tactile, textured fabric that feels as unique as it looks.
But wait, there’s more. Ever noticed how those old-school gems have frayed edges and slightly faded colors? That’s the signature grunge-meet-urban vintage stamp. If you’re trying to age your modern tee to perfection, there are tricks to fast-forward time and recreate that well-loved appearance.
Here’s the lowdown on those key characteristics that define the vintage aesthetic:
| Characteristic | Vintage Vibe Detail |
|---|---|
|
Fit |
Relaxed and straightforward |
|
Fabric |
Textured for a unique feel |
|
Edges |
Faded and frayed for that grungy appeal |
|
Color |
Softened hues reflecting years of washing and rocking it out |
Get the look, feel the age, and rock that vintage style like it’s been in your wardrobe for decades!
Soaking Methods: Brine, Vinegar, and Bleach
Wanna score that cool vintage vibe on a classic t-shirt? It’s all about aging it just right! Here’s the lowdown on soaking methods that’ll help you age t-shirts like a pro:
Brine, Vinegar, and Bleach Soaking Methods
|
Method |
Mix Ratio |
Soak Time |
Best For |
|---|---|---|---|
|
Vinegar Soak |
1 part vinegar, 3 parts water |
4-12 hours |
Setting stains for that artificially aged look |
|
Bleach Soak |
3 gallons warm water, 3 cups liquid bleach |
Immerse fully |
Bright colors and cotton fabrics |
|
Lemon Juice Soak |
1 part lemon juice, 3 parts water |
3-12 hours |
Fading tees to perfection |
|
Vinegar & Lemon |
Varies |
As needed |
Lightening up vibrant prints |
For a straight-up blast from the past, brine solutions made with vinegar, lemon juice, or liquid bleach are your go-tos. Dunk your clothing item into the mix and give it enough time to let the solution work its magic.
Remember, lighter colors will fade tastefully with a lemony soak, while those brighter colors need a hot date with a bleach bath. And hey, don’t rush the process—soaking times are key to get that vintage shirt look just right.
Now, roll the sleeves, and let’s bring that vintage t-shirt dream to life!
Hot Washes: Softening Your Fabric
Ready to give your classic t-shirt that well-loved vintage vibe? Hot washes might just be your ticket to softening up that fabric and adding years to its look in just a few hours. Here’s the lowdown on using heat to age your tees:
Table: Hot Wash Techniques for Aging T-Shirts
|
Technique |
Hot Water Temp |
Additives |
Duration |
|---|---|---|---|
|
Basic Hot Wash |
Steaming hot |
None |
Several cycles |
|
Brine Solution |
Hot |
Salt |
Several hours |
|
Washed Dye |
Variable |
None |
Varies |
First off, cranking up the heat in your wash cycle can lift those excess colors and any stubborn solution residue, leaving your shirt feeling softer to the touch. But it doesn’t stop there! If you’re gunning for that faded look, immerse your tees in piping hot water with a pinch of salt. Keep it there for a good few hours to let the magic happen.
Get your t-shirt to that ideal vintage state by giving it repeated hot wash cycles, preferably on the highest heat setting. This method breaks down the fabric and dye, nabbing you that coveted faded look of well-worn vintage clothing. Feeling artistic? Washed dye techniques let you selectively expose parts of your shirt to hot water for a natural fade effect, creating that perfect vintage flair.
Distressing Techniques: Cutting and Tearing
Dreaming of that perfect vintage vibe for your tees? You don’t need gullprint.com’s vintage t-shirts to get the classic t-shirt look. With a few simple distressing techniques, you can age t-shirts and make them look authentically worn.
Distressing Techniques: Cutting and Tearing
- Get Snippy: Start by cutting off the hems and collar. Want your shirt a tad shorter? Go ahead and snip off more from the bottom. Instant vintage!
- Rip It Good: For edges that scream vintage clothing, make a small cut along the hem and tear away. This jagged edge adds extra character to your shirt.
- Sharp Styles: Grab a sharp razor blade. Make strategic cuts or slashes for cut-outs in the collar, hem, or a punk-rock vibe across the front.
- Rock the Texture: To really mimic the timeless wear of vintage shirts, distress the edges and seams. Use sandpaper or a pumice stone and focus on high-friction areas like the collar, cuffs, and shirt tails.
By getting creative with cutting and tearing, you transform any clothing item into a darker, edgier piece that feels like it’s lived a thousand rock concerts. So, grab those scissors and get distressing!
Sandpaper: Creating Authentic Wear
Sure thing! Let’s give that classic t-shirt some real vintage vibe with a trick as simple as sandpaper. Now, don’t just grab any sandpaper lying around; for that perfect worn-in look, you need the right grit. Start with a coarse grit, about #80 to #120. This bad boy will help you distress the high-wear areas—think collars, cuffs, pocket edges, and seams. That’s where your t-shirt naturally shows its age, so focus those sanding skills there for authenticity.
But wait—before you go all in, remember that less is more. Check your progress often because you don’t want to overdo it. Imagine gently aging your shirt, not tearing it to shreds. Want a subtler effect? Swap to a finer grit, maybe up to #220. It’s all about the art of the light touch.
For those of you who love details, a Dremel tool can be your best friend. Combined with sandpaper, you can create unique patterns and focus on heavy distressing with precision. Just keep in mind: heavy does not mean hulk-smash! Control is key. Better to pass over the area multiple times lightly than press too hard and be left with a hole rather than a vintage masterpiece.
Staining with Coffee: Mimicking Natural Aging
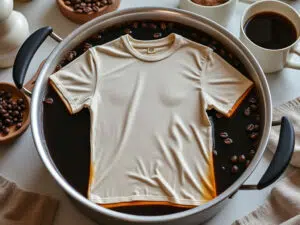
Wanna give your classic t-shirt that vintage vibe without waiting years for it to age? Coffee’s your secret ingredient. It’s perfect when you’re aiming to tone down those brighter colors and give your tee a naturally worn-in look.
Here’s your quick guide to go vintage with coffee:
- Mix up your aging potion by diluting some coffee in water. The strength of your coffee will decide the final shade, so feel free to experiment.
- Dunk your t-shirt in there and let it sit for about 10 to 15 minutes. Think of it like steeping your shirt like a tea bag.
- Once it’s got that old-school tint, rinse it off in cold water. This stops the coffee from being too harsh on the fabric, keeping it from weakening.
- For that extra vintage flair, don’t rush to wash it. Let the coffee stains set in a bit to deepen the effect.
By the time you’re done, you’ll have a t-shirt that takes you back in time without damaging it as harsh chemicals would. Plus, who doesn’t love the smell of coffee? Just remember, this method is a champ for lighter colors, and gives off a subtler effect on dark-colored clothing.
Tea Dyeing: An Alternative Staining Method
If you’re aiming for that perfect vintage vibe for your classic t-shirt, tea dyeing is your retro go-to. This natural process adds years of character to your new tee, giving it that coveted vintage t-shirt look synonymous with vintage clothing.
Here’s how to ace the tea stain game:
- Brew up a storm: Black tea is your best friend here. Brew it strong and give it time to cool off. It’s the most effective for that authentic aged look.
- Mix it up: For added complexity, throw some coffee grounds into the mix. This enhances the staining, bumping up that old-school factor.
- Soak it in: Dip your shirt into a diluted tea solution for about 10 to 15 minutes. Ensure the tea works its way into the fibers for a legit worn-in look.
- Wash and repeat: To really nail the vintage shirts vibe, go for a couple of washes with the tea dye. It lifts excessive color bleed and sets in the vintage tone.
Remember, tea dyeing isn’t an exact science—it’s more of an art. The result will be a tee with a vibe as nostalgic as a throwback playlist. Make sure to keep the water neither too hot nor too cold to avoid affecting the t-shirt’s color unevenly. And just like that, you’ve turned back time on your clothing item without any harsh liquid bleach or a hot wash to stress the fabric.
Bleaching Techniques: Lighten with Intent
Wanna give your classic t-shirt that cool vintage vibe? Bleaching is your friend, but with great power comes great responsibility! It’s all about control, so let’s lighten up with intent.
Mix It Up Right:
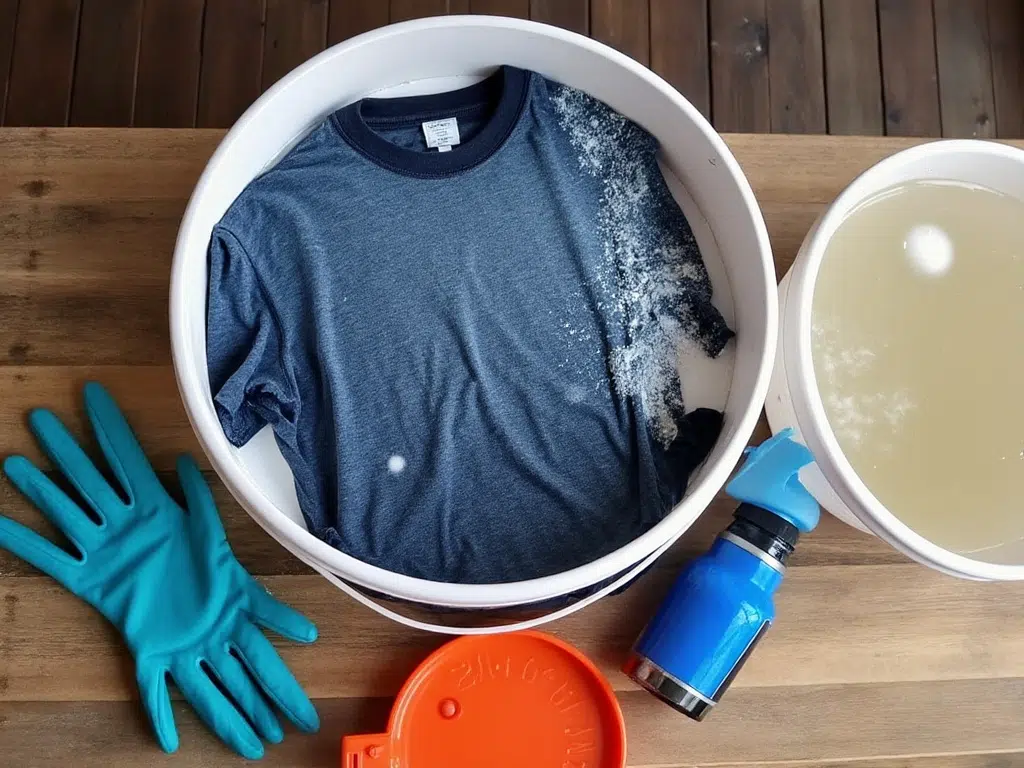
Start with a simple mix – one part hydrogen peroxide (the 3% kinda stuff you find in your bathroom) to one part water. Soak your shirt in this concoction for about 10-15 minutes. And hey, repeat the soak if you’re going for an even lighter look.
Targeted Fading:
Got patterns or logos that need some softening? Grab a paintbrush or spray bottle and hit ’em with a diluted bleach solution. Briefly let it sit, rinse it, and go again. Think of it like a painter on a canvas, but your canvas is that awesome tee!
Bright Colors Beware:
Rocking a vividly colored cotton shirt? Time for a bigger mix! Three gallons of warm water with three cups of liquid bleach. Keep a close eye for the first five minutes, and remember – color loss is a journey, not a race.
Sun’s Out, Fades Out:
Embrace the power of the sun. Leave your shirt out to bask under those rays for a few days. Keep turning it for an even tan – I mean, fade.
Spray With Caution:
For a bold fade fast, mix one part bleach with five parts water, give it a light spray, and rinse after a few moments. Just don’t get carried away unless you fancy a disintegrating shirt.
Remember, folks – always rinse out that bleach thoroughly and wash in cold water to stop the fading process and prevent any unwanted vintage holes. Happy aging!
Lemon Juice: Freshening and Fading Fabric
Hey there, DIYers and vintage lovers! If you’re aiming to give your tees that cool, lived-in look, guess what? You don’t need to scour gullprint.com for vintage t-shirts; you can create that vintage vibe right at home with lemon juice – seriously!
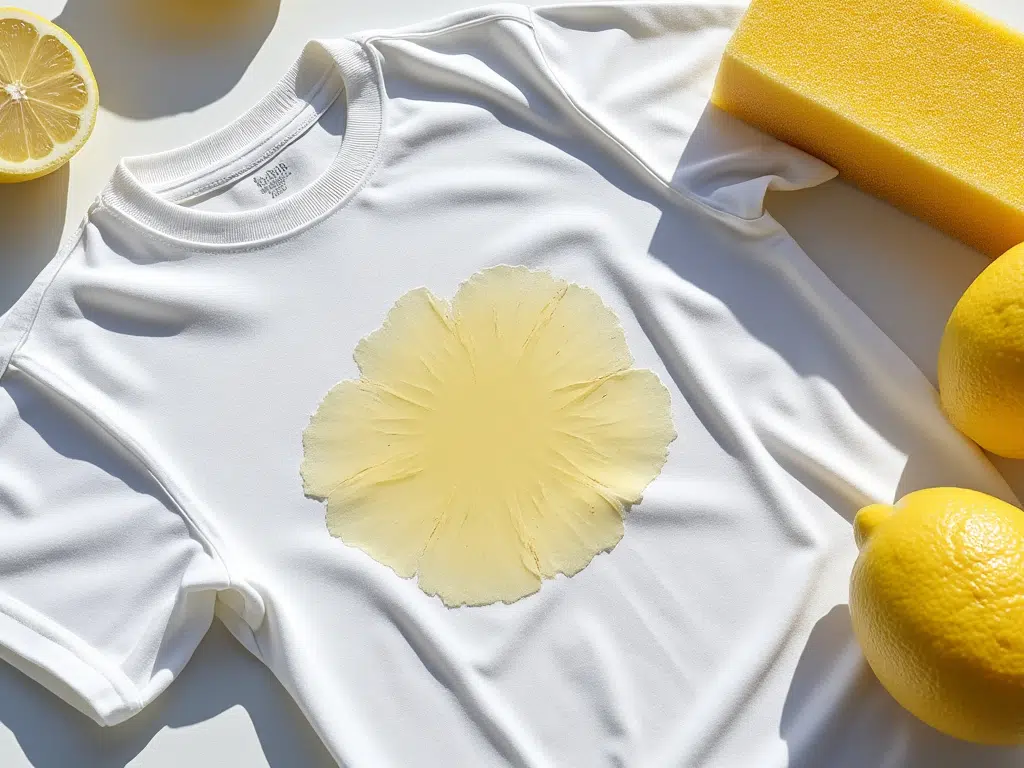
Lemon juice is your gentle giant in the fading game. Want to age your t-shirt without going full-on bleach wash? Lemon juice is your bud. Check this out: apply it directly to specific spots for that local faded flair. But if you’re going for that all-over time-traveled look, soak your shirt in a mix of lemon juice and water (1:3 ratio, friends) for a few hours. Patience is a virtue, right? Leave it for 24 hours, and those ink colors will whisper rather than shout.
Imagine you’re making a light, zesty salad dressing: combine one part lemon juice with three parts vinegar and water for an extra kick in the fading process. Once done, give it a rinse in lukrish-warm water – it’s like saying “stop” to the fading so you can get that perfect vintage-y softness.
Just remember:
- Direct application for spot fading
- Soak for overall fade
- 1 part lemon to 3 parts water/vinegar
- Rinse in lukewarm water post-soak
Get ready to rock that classic t-shirt with the perfect fade!
Pumice Wash: Texture and Distress
Ready to give your shirt that lived-in, vintage vibe without waiting for a couple of decades to pass? Pumice can be your best buddy for this mission!
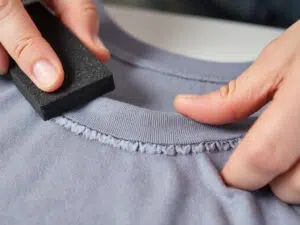
Pumice, that porous buddy from the volcanic family, is kind of a wizard when it comes to aging your t-shirt’s graphics. You don’t need to put in the elbow grease like you would with sandpaper; it’s all about a gentle romance between the fabric and the stone. A little rub here and there, particularly on the spots that see the most action like hems, collars, and sleeve edges, and voilà – you achieve that slight pilling effect that screams “I’ve been around”.
But how gentle is gentle, you ask? Pumice won’t bully your fabric into looking old. It caresses it into a softer state, all while giving it that coveted worn-in charm. And if you’re ready to commit, go for a pumice wash. Just let your tee soak up some warm bath time with pumice and chill for a few days. Your patience will be rewarded with threads that tell tales of yesteryears.
Keep in mind, pumice is the go-to for those delicate tasks. Leave the hardcore distressing for the sturdier stuff like your denims and canvases. So, grab your pumice stone and let the good, old times roll!
Choosing the Right Fit: Oversized Styles for Vintage Appeal
Snagging that vintage vibe? It’s all about going big or going home—literally!
Dive into the oversized t-shirt trend, a 90s grunge staple, and instantly level up your retro game. We’re talking tees that drape like they’ve been snatched from a buddy’s wardrobe. Choose a classic t-shirt that’s two or three sizes up for that relaxed, effortlessly cool look.
And here’s the kicker: balance, baby! Rock that baggy tee with sleek skinny jeans or leggings. Why? You keep your silhouette in check while scoring high on the vintage style scale.
Now, the oversized look isn’t just a fashion statement; it’s like a time machine hugging your torso. A casual aesthetic mixed with a dash of nostalgia? Yes, please!
But don’t let your tee swallow you whole. Tuck it in, folks. Show off that waist and let everyone know you’ve got vintage appeal down to a tee (pun totally intended).
Remember, the right oversized t-shirt can turn a simple outfit into a throwback masterpiece:
|
Tee Size |
Style Tip |
|---|---|
|
XXL |
Pair with slim-fit bottoms and tuck in for the perfect ratio |
So, up the sizes and downplay the rest to channel the old school charm!
Experimenting with Textures: Fabrics that Age Well
Feel like stepping back in time with your wardrobe? Transforming your shirt to rock that vintage vibe isn’t as tough as you might think. Here are some easy peasy ways to age your tees to achieve that classic t-shirt charm:
- Channel the Textured Touch: You know those shirts with a slightly bumpy, super inviting surface? That’s all thanks to textured fabrics. They get your shirt that cozy, lived-in feel that screams vintage.
- Get Burned, In a Good Way: Mix it up with burnout fabric. It’s a cool trick where some fibers get dissolved on purpose, letting those awesome translucent patterns pop, just like in the ’90s.
- Washed Dye Magic: Want that “I’ve been loving this shirt forever” faded look? Try the washed dye technique. It gives off the illusion that your shirt’s been through the ringer but in a fashionably nostalgic way.
- Edge It Up: Frayed or slightly tattered edges on a shirt give that grunge glory that vintage lovers dig. It’s the ultimate nod to the natural wear and tear of time.
- Rock with Pumice: Rub some pumice stones on your tee. It scuffs up the fabric enough for a vintage feel without wrecking your shirt.
Remember, the goal is to rock that vintage flair without looking like your shirt’s seen better days. Have fun with it and let your shirt tell a story all its own!
Final Touches: Personalizing Your Vintage T-Shirt
Hey there, fellow vintage lovers! So, you want to add some final touches to give your t-shirt that authentic vintage vibe, huh? Well, you’re in luck because personalizing your classic tee is simpler than brewing your morning cup of joe.
First up, let’s age that fabric – grab some tea or coffee. Give your tee a good soak to dial down that bright, fresh-off-the-rack look and amplify the weathered, lived-in charm we all love about vintage clothing. Be sure to let it dry to see the full effect!
Craving that well-loved, been-through-the-wringer feel? Scuff it up with a pumice stone, especially on the hems, neckline, and sleeve edges. Work in circular motions to mimic years of wear and tear.
Now, about those graphics – you’ll want to fade ’em out a bit for a proper aged appearance. Go easy on the ink colors, opting for softer hues that say ‘retro’ more than ‘brand new’.
Here’s a pro-tip: aim for frayed and slightly tattered edges on any prints. This screams grunge aesthetic and makes for a believable blast from the past. Plus, it tells the story of a t-shirt with history. And that, my friends, is the essence of vintage. Happy DIY-ing!

